Rainbows During the Storm
Anyone else find themselves crafting their way through quarantine? Whether it’s home projects, tie dying, or macramé rainbows - if I see something inspiring on social media, I’ll give it a try!
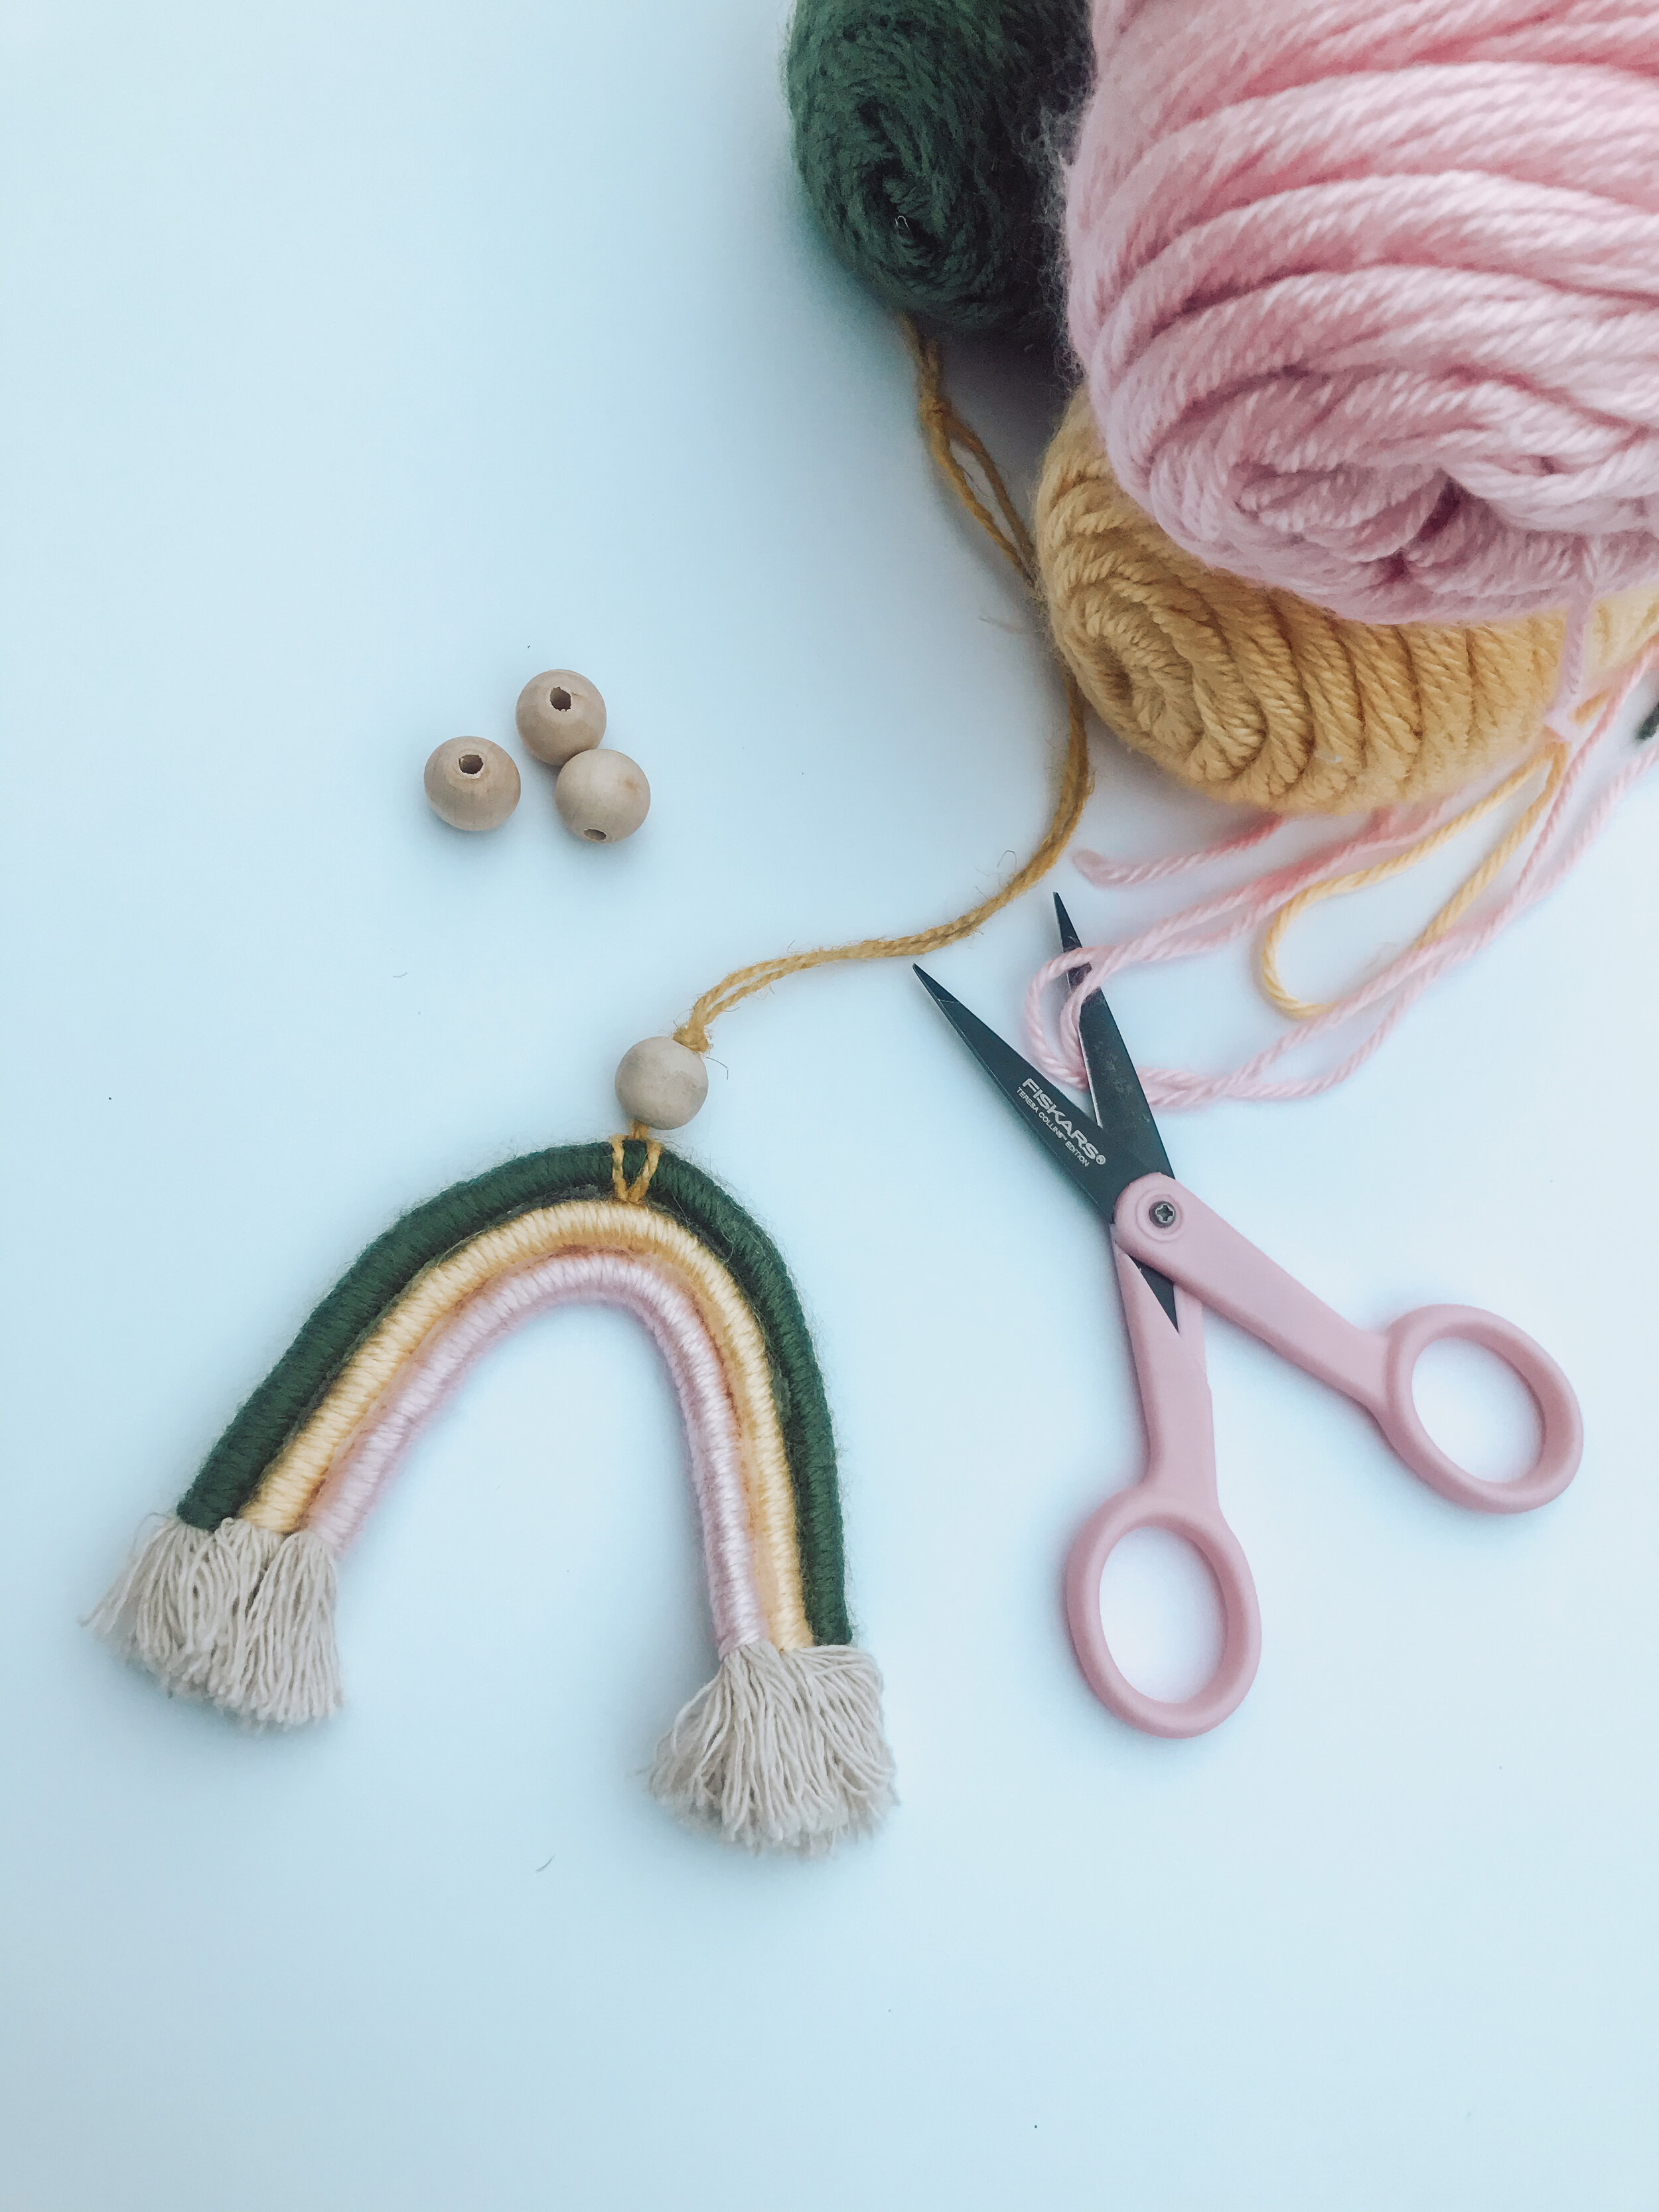
These macramé rainbows have been one of my favorite projects so far! They are easy to make, and don’t require much besides some basic supplies including yarn, rope, a hot glue gun, and some scissors. You can also have a completed project in less than 20 minutes - which is great for someone (like me) who likes immediate craft gratification. I never did finish the quilt I started 5 years ago.. since I couldn’t finish it on the same day.
I stumbled upon these rainbows when I was looking for something I could make to include in my welcome kits for new Young Living members. I wanted to craft something that could be used as a personal diffuser - in the car, or hanging on a purse or diaper bag. I found a winner!
So far, I’ve made 5 total rainbows in 2 days - all varying sizes to see which size I like best. I prefer projects I can do from the couch while Brandon watches TV next to me. Spending time together, but also accomplishing something at the same time. He binges the Office - I interrupt him every 5 minutes asking the names of the characters and what relationships they have to one another, and only got hot glue on the couch once! Thankfully Brandon is the most patient person I know, and didn’t even mind the glue, or the fact that I have a craft room, a DIY office area with oil supplies and choose to do my crafts right next to him, yarn only occasionally (actually mostly) creeping into his side of the couch. These are what our Saturdays have become - rainbows during the storm of quarantine
Supplies:
Michael’s makes crafting easy with curbside pick up! I ordered everything I needed Saturday night around 5:30pm and it was ready by 11am Sunday morning. I drove up to the front door, called the number and they put the bag right in my trunk!
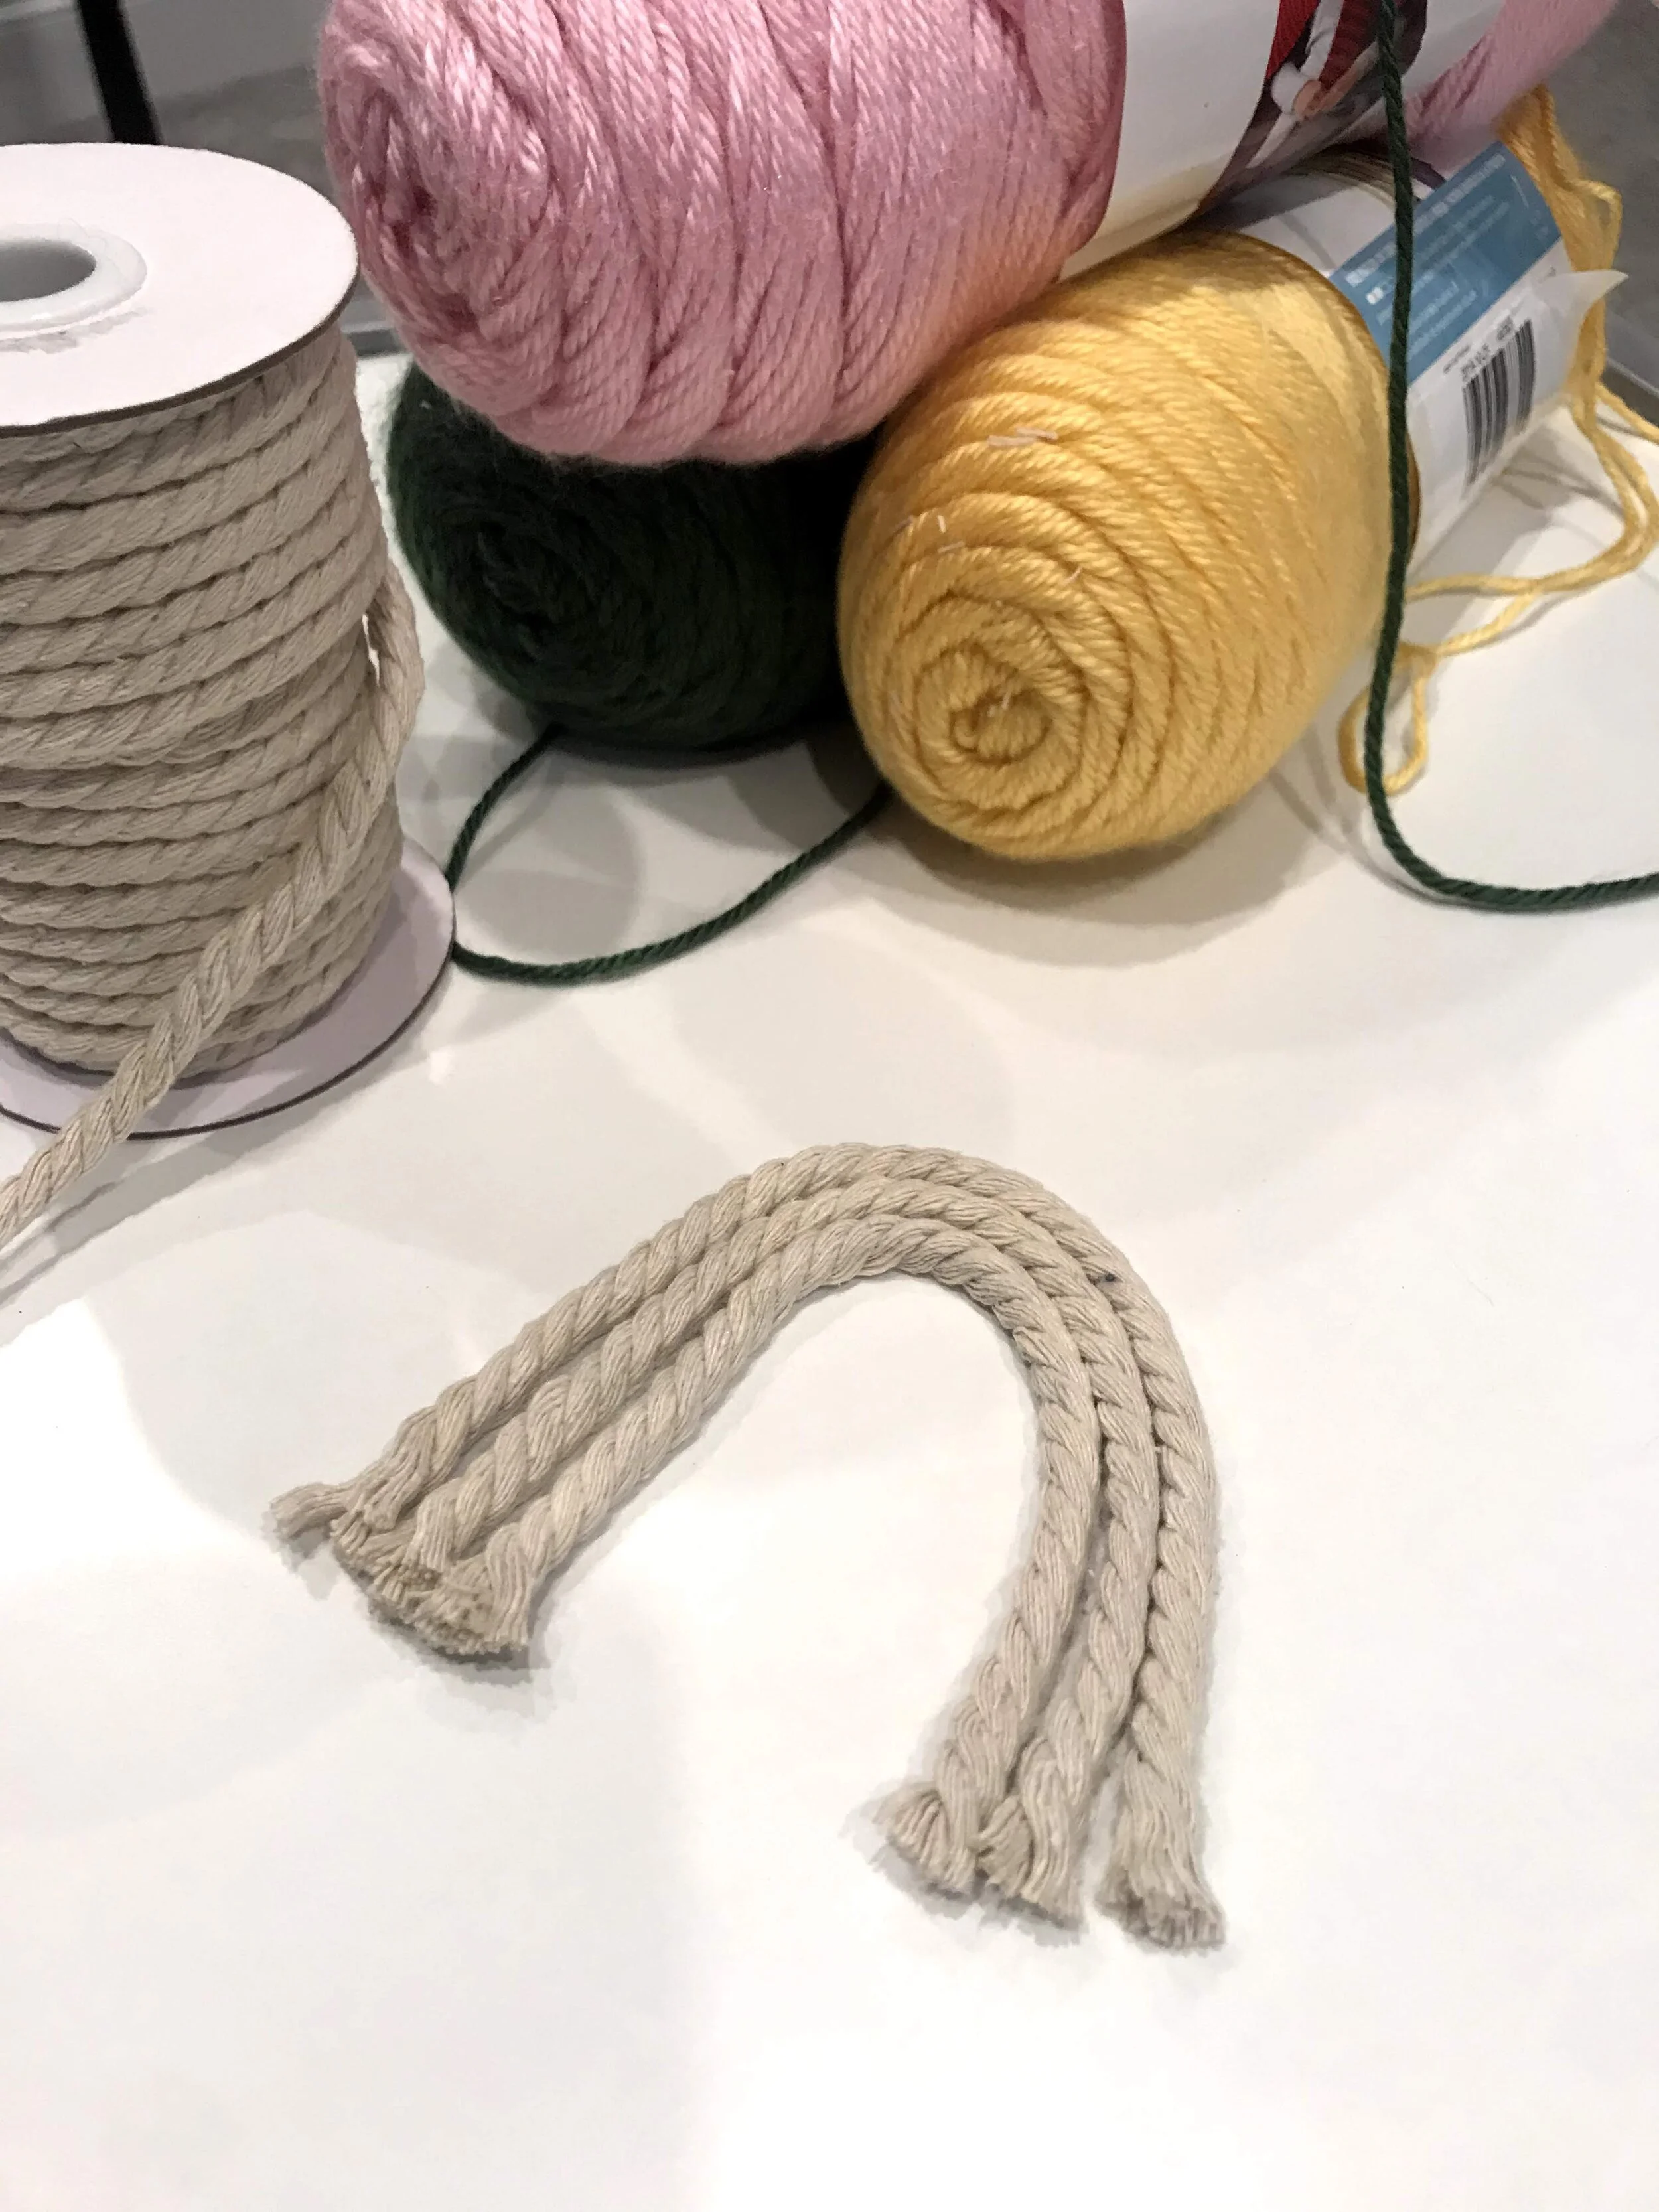
Yarn - any variety of colors (min. of 3 colors)
Beads (optional)
Here are the simple step by step directions:
Cut three pieces of rope, lining them up in an arch form on a flat surface, each one a little smaller than the one before.
2. Hold your longest piece of rope.
3. Move in one inch from the end and tie the yarn around the rope. Begin wrapping the colored yarn firmly around the rope, covering the yarn end as you go.
4. Wrap the yarn around the length of the rope until you reach 1 inch from the end.
5. Hot glue the end of the yarn down to the rope.
6. Repeat this process with the next two pieces of cut rope, changing the color of yarn each time.
7. Measure a piece of jute string about 16 inches.
8. Take the longest piece of rope and fold it in half to find the center.
9. Using a larks head knot, tie the jute string around the middle of the rope.
10. Add a wooden bead if desired. (I will add essential oils drops to these beads to act as diffusers)
11. Tie a knot at the top of the jute string.
12. Hot glue each rainbow piece together, starting with the largest pieces - lining up the colors.
13. When all the pieces are glued together, fluff the ends and trim any strings from the ropes that do not line up.
14. Hang your rainbow up where you will see it to brighten up each day!


